cobbler 自动装机
注意: 在实验时关闭vmware workstation或者你的虚拟化的默认网络dhcp
cobbler 官方文档:https://cobbler.readthedocs.io/en/latest/index.html 装机时可以做的事情: 根据mac配置机器静态ip地址,系统初始化操作,配置网卡bond,lvm等
安装cobbler dhcp
[root@localhost ~]# yum install epel-release
[root@localhost ~]# yum install cobbler dhcp pykickstart
#cobbler的依赖包含httpd tftp等,会一起安装
#设置服务开机启动
[root@localhost ~]# systemctl enable cobblerd dhcpd httpd tftp
启动
[root@localhost ~]# systemctl start cobblerd httpd tftp.socket
配置cobbler
#cobbler check命令用于检查当前cobbler配置
#仅pxe引导一次,避免后期重启机器重新装机导致数据丢失
#如果启用,Cobbler将在构建过程完成时将系统的netboot_enabled标志设置为0。这可以防止系统在PXE重启/安装循环中结束,这可能在PXE设置为默认启动选项时发生。
#注意:需要在KS文件%post script的最后一行指定$SNIPPET('kickstart_done')。
[root@localhost ~]# sed -i "s#pxe_just_once: 0#pxe_just_once: 1#" /etc/cobbler/settings
[root@localhost ~]# vim /etc/cobbler/settings
#...省略部分内容...
#配置本机ip
server: 192.168.98.128
#tftp服务器地址
next_server: 192.168.98.128

#使用cobbler get-loaders下载必要的文件
[root@localhost ~]# cobbler get-loaders
#cobbler sync同步下载的文件到tftp目录
[root@localhost tftpboot]# cobbler sync
[root@localhost tftpboot]# ll /var/lib/tftpboot/
total 300
drwxr-xr-x 3 root root     18 Nov 23 10:05 boot
drwxr-xr-x 2 root root      6 Oct 15  2019 etc
drwxr-xr-x 2 root root     81 Nov 23 10:05 grub
drwxr-xr-x 2 root root      6 Oct 15  2019 images
drwxr-xr-x 2 root root      6 Oct 15  2019 images2
-rw-r--r-- 2 root root  26140 Oct 31  2018 memdisk
-rw-r--r-- 2 root root  54964 Nov 22 19:23 menu.c32
drwxr-xr-x 2 root root      6 Oct 15  2019 ppc
-rw-r--r-- 2 root root  16794 Nov 22 19:23 pxelinux.0
drwxr-xr-x 2 root root     21 Nov 23 10:05 pxelinux.cfg
drwxr-xr-x 2 root root     26 Nov 23 10:05 s390x
-rw-r--r-- 2 root root 198236 Nov 22 19:23 yaboot

#配置新装系统的默认 root 密码
[root@localhost ~]# openssl passwd -1
Password:
Verifying - Password:
$1$w.KviGWr$0nHahjWzDaETuZrfhM9.U0

[root@localhost ~]# vim /etc/cobbler/settings
default_password_crypted: "$1$w.KviGWr$0nHahjWzDaETuZrfhM9.U0"

#通过cobbler管理dhcp
[root@localhost ~]#  vim /etc/cobbler/settings
manage_dhcp: 1

#配置/etc/cobbler/dhcp.template,配置dhcp

subnet 192.168.98.0 netmask 255.255.255.0 {#网络
     option routers             192.168.98.2; #路由
     option domain-name-servers 114.114.114.114; #dns
     option subnet-mask         255.255.255.0; #掩码
     range dynamic-bootp        192.168.98.3 192.168.98.100; #ip列表
     default-lease-time         21600;
     max-lease-time             43200;
     next-server                $next_server;
     class "pxeclients" {
          match if substring (option vendor-class-identifier, 0, 9) = "PXEClient";
          if option pxe-system-type = 00:02 {
                  filename "ia64/elilo.efi";
          } else if option pxe-system-type = 00:06 {
                  filename "grub/grub-x86.efi";
          } else if option pxe-system-type = 00:07 {
                  filename "grub/grub-x86_64.efi";
          } else if option pxe-system-type = 00:09 {
                  filename "grub/grub-x86_64.efi";
          } else {
                  filename "pxelinux.0";
          }
     }

}

#同步/etc/cobbler/dhcp.template到/etc/dhcp/dhcpd.conf
[root@localhost ~]# systemctl restart cobblerd
[root@localhost ~]# cobbler sync
配置tftp
[root@localhost ~]# vim /etc/xinetd.d/tftp
#...省略部分内容...
disable                 = no
重启
[root@localhost ~]# systemctl restart cobblerd
[root@localhost ~]# systemctl restart httpd
[root@localhost ~]# systemctl restart tftp.socket
[root@localhost ~]# systemctl restart dhcpd.service
[root@localhost ~]# systemctl enable rsyncd
[root@localhost ~]# systemctl start rsyncd
管理distro
- 挂载centos7镜像
[root@localhost ~]# mount /dev/cdrom /mnt/
mount: /dev/sr0 is write-protected, mounting read-only
[root@localhost ~]# ls /mnt/
CentOS_BuildTag  EULA  images    LiveOS    repodata              RPM-GPG-KEY-CentOS-Testing-7
EFI              GPL   isolinux  Packages  RPM-GPG-KEY-CentOS-7  TRANS.TBL
- 导入镜像
[root@localhost ~]# cobbler import --path=/mnt/ --name=CentOS-7-x86_64 --arch=x86_64
# --path 镜像路径
# --name 为安装源定义一个名字
# --arch 指定安装源是 32 位、64 位、ia64, 目前支持的选项有: x86│x86_64│ia64
# 安装源的唯一标示就是根据 name 参数来定义,本例导入成功后,安装源的唯一标示就是:CentOS-7-x86_64,如果重复,系统会提示导入失败
[root@localhost ~]# cobbler distro list     # 查看镜像列表
   CentOS-7-x86_64
# 镜像存放目录,Cobbler 会将镜像中的所有安装文件拷贝到本地一份,放在 /var/www/cobbler/ks_mirror 下的 CentOS-7-x86_64目录下。
# 因此 /var/www/cobbler 目录必须具有足够容纳安装文件的空间。
[root@localhost ~]# ll /var/www/cobbler/ks_mirror/
total 0
drwxr-xr-x 8 root root 254 Nov  4 19:35 CentOS-7-x86_64
drwxr-xr-x 2 root root  34 Nov 23 10:40 config
[root@localhost ~]# cobbler profile list        # 导入 distro 会自动生成 profile
   CentOS-7-x86_64
- 查看安装镜像文件信息
[root@localhost ~]# cobbler distro report --name=CentOS-7-x86_64
Name                           : CentOS-7-x86_64
Architecture                   : x86_64
TFTP Boot Files                : {}
Breed                          : redhat
Comment                        :
Fetchable Files                : {}
Initrd                         : /var/www/cobbler/ks_mirror/CentOS-7-x86_64/images/pxeboot/initrd.img
Kernel                         : /var/www/cobbler/ks_mirror/CentOS-7-x86_64/images/pxeboot/vmlinuz
Kernel Options                 : {}
Kernel Options (Post Install)  : {}
Kickstart Metadata             : {'tree': 'http://@@http_server@@/cblr/links/CentOS-7-x86_64'}
Management Classes             : []
OS Version                     : rhel7
Owners                         : ['admin']
Red Hat Management Key         : <<inherit>>
Red Hat Management Server      : <<inherit>>
Template Files                 : {}
管理profile
Cobbler使用 profile 来为特定的需求类别提供所需要安装的配置,即在 distro 的基础上通过提供 kiskstart 文件来生成一个特定的系统安装配置。 distro 的 profile 可以出现在 PXE 的引导菜单中作为安装的选择
#cobbler profile report查看所有profile 配置
#--name=查看特定profile配置
[root@localhost ~]# cobbler profile report --name=CentOS-7-x86_64
Name                           : CentOS-7-x86_64
TFTP Boot Files                : {}
Comment                        :
DHCP Tag                       : default
Distribution                   : CentOS-7-x86_64
Enable gPXE?                   : 0
Enable PXE Menu?               : 1
Fetchable Files                : {}
Kernel Options                 : {}
Kernel Options (Post Install)  : {}
Kickstart                      : /var/lib/cobbler/kickstarts/sample_end.ks
Kickstart Metadata             : {}
Management Classes             : []
Management Parameters          : <<inherit>>
Name Servers                   : []
Name Servers Search Path       : []
Owners                         : ['admin']
Parent Profile                 :
Internal proxy                 :
Red Hat Management Key         : <<inherit>>
Red Hat Management Server      : <<inherit>>
Repos                          : []
Server Override                : <<inherit>>
Template Files                 : {}
Virt Auto Boot                 : 1
Virt Bridge                    : xenbr0
Virt CPUs                      : 1
Virt Disk Driver Type          : raw
Virt File Size(GB)             : 5
Virt Path                      :
Virt RAM (MB)                  : 512
Virt Type                      : kvm

#Cobbler 会给指定一个默认的 kickstart , /var/lib/cobbler/kickstarts 下 sample_end.ks
kickstart文件demo
[root@localhost ~]# cat /var/lib/cobbler/kickstarts/c7.cfg
#platform=x86, AMD64, or Intel EM64T
#version=DEVEL
# Install OS instead of upgrade
install
# Keyboard layouts
# old format: keyboard us
# new format:
keyboard us
# Root password
rootpw --iscrypted $default_password_crypted
# Use network installation
url --url=$tree
# System language
lang en_US.UTF-8
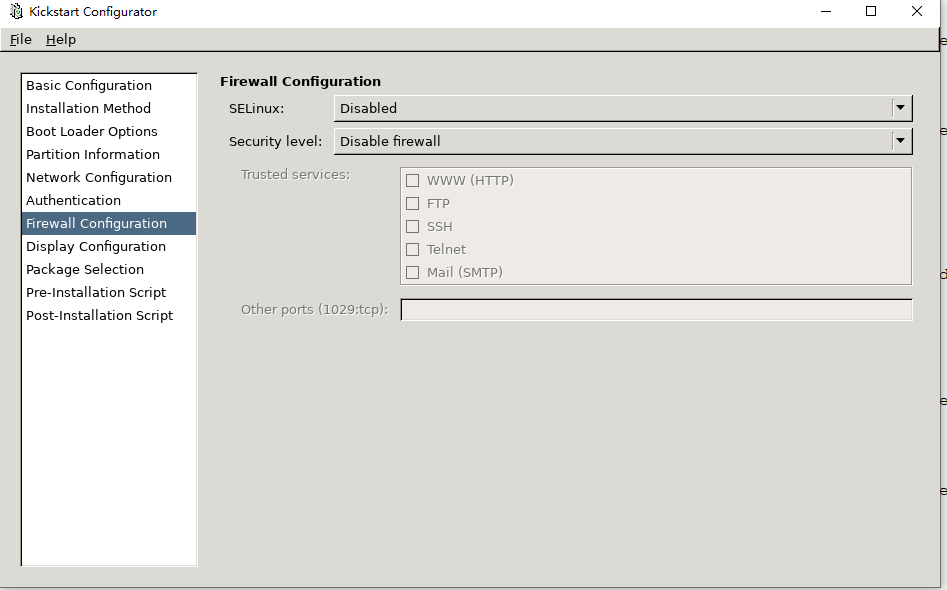
# Firewall configuration
firewall --disabled
# System authorization information
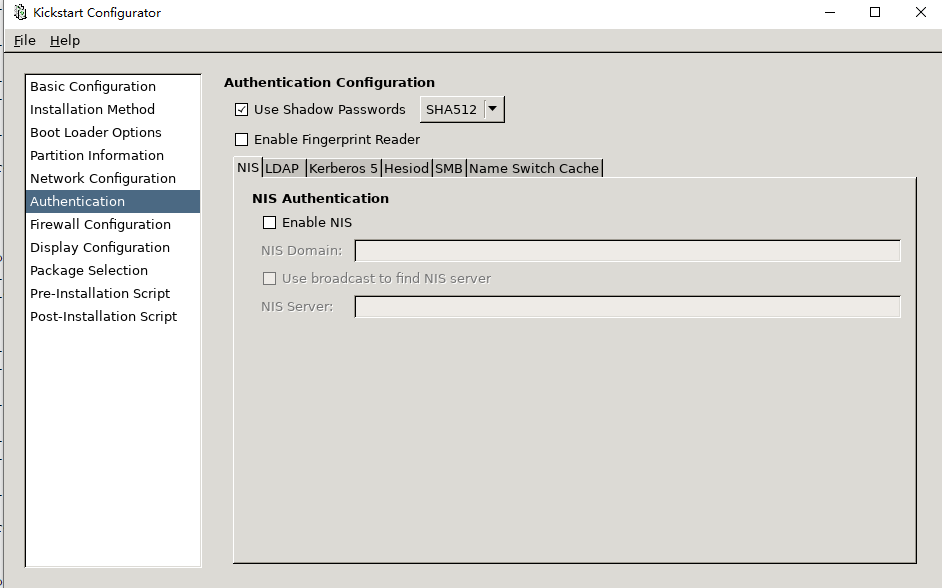
auth --useshadow --passalgo=sha512
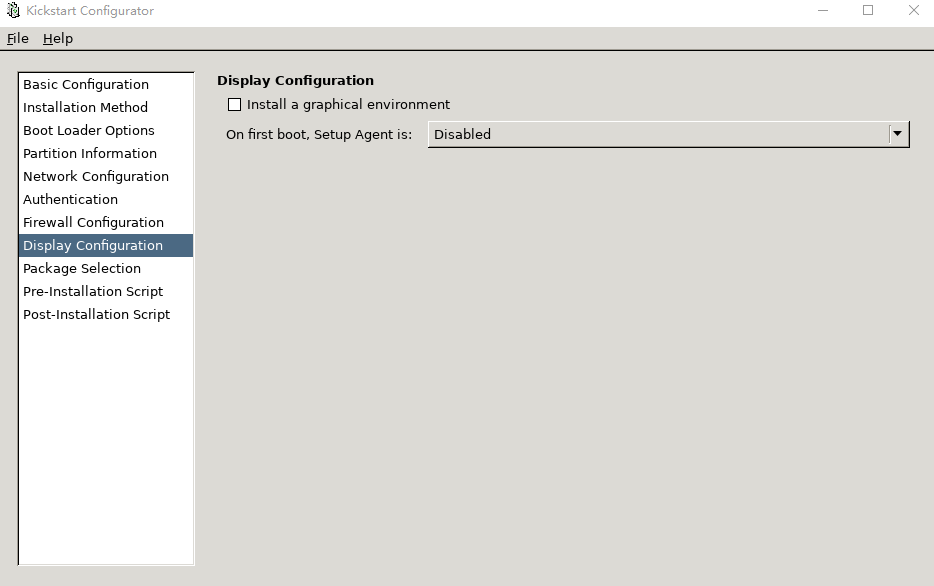
# Use graphical install
#graphical
reboot
text
# Run the Setup Agent on first boot
firstboot --enable
# SELinux configuration
selinux --disabled
# Do not configure the X Window System
skipx
# System services
services --disabled="chronyd"
ignoredisk --only-use=sda
# Network information
#network --bootproto=dhcp --device=eth0 --onboot=on
$SNIPPET('network_config')
# Reboot after installation
reboot
# System timezone
timezone Asia/Shanghai
# System bootloader configuration
bootloader --location=mbr --boot-drive=sda
# Clear the Master Boot Record
zerombr
# Partition clearing information
clearpart --all --initlabel
# Disk partitioning information
#part /boot --asprimary --fstype="xfs" --size=1024
#part swap --fstype="swap" --size=2048
#part / --fstype="xfs" --grow --size=1
#LVM
part /boot --fstype xfs --size=200 --ondisk=sda
part pv.2 --size=0 --grow --ondisk=sda
volgroup myvg --pesize=4096 pv.2
logvol / --fstype xfs --name=lv_root --vgname=myvg --size=10240 --grow
logvol swap --fstype swap --name=lv_swap --vgname=myvg --size=1024 --grow --maxsize=2048
#part pv26 --size=0 --grow --ondisk=sda
#part /boot --fstype="xfs" --size=1024 --ondisk=sda
#part swap --fstype=swap --size=2048
#volgroup VG00 --pesize=4096 pv26
#logvol / --fstype=="xfs" --name=LVroot --vgname=VG00 --size=1024 --grow --maxsize=51200
#logvol /data --fstype="xfs" --name=LVdata --vgname=VG00 --size=100
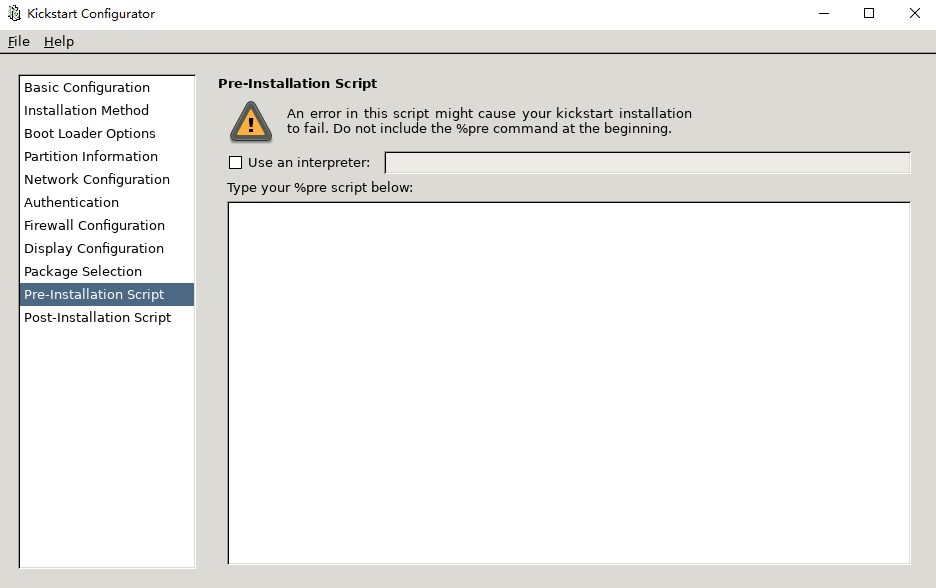
%pre
$SNIPPET('log_ks_pre')
$SNIPPET('kickstart_start')
$SNIPPET('pre_install_network_config')
# Enable installation monitoring
$SNIPPET('pre_anamon')
%end
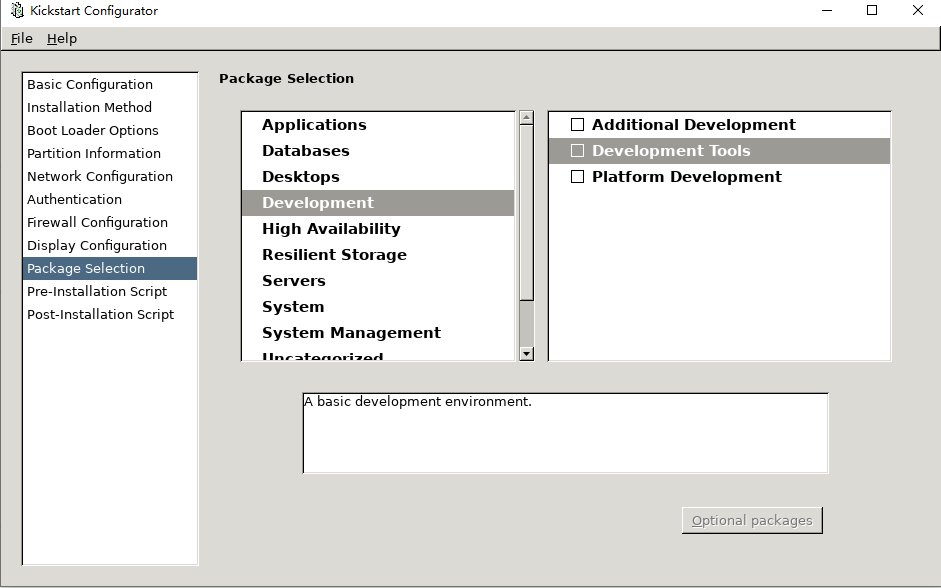
%packages
@^minimal
@core
%end
%post
$SNIPPET('post_install_network_config')
cat >>/etc/profile<<EOF
HISTTIMEFORMAT="%Y-%m-%d %H:%M:%S `whoami` "
ulimit -n 65536
EOF
cat >>/etc/security/limits.conf<<EOF
* soft nofile = 65536
* hard nofile = 65536
root soft nofile 65536
root hard nofile 65536
EOF
hwclock -w
$SNIPPET('kickstart_done')
%end
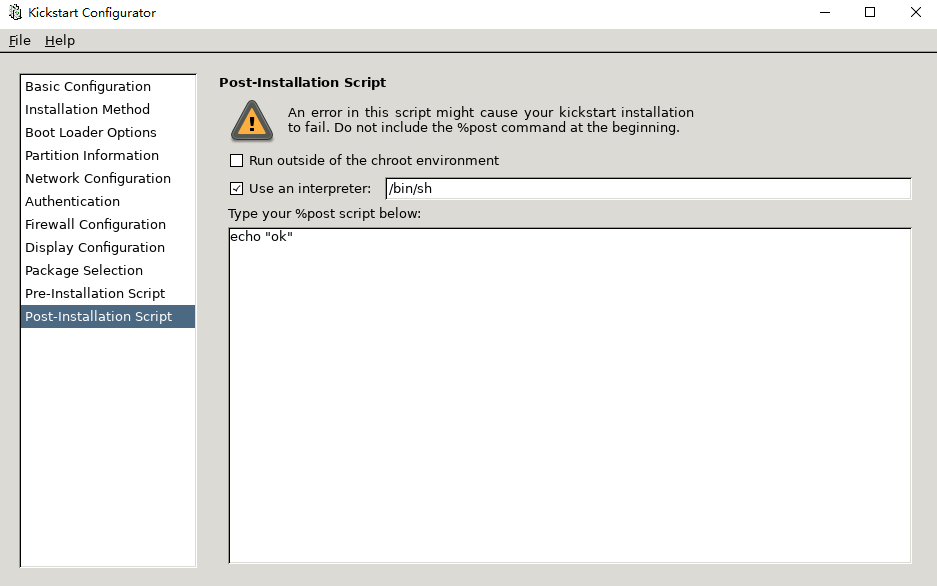
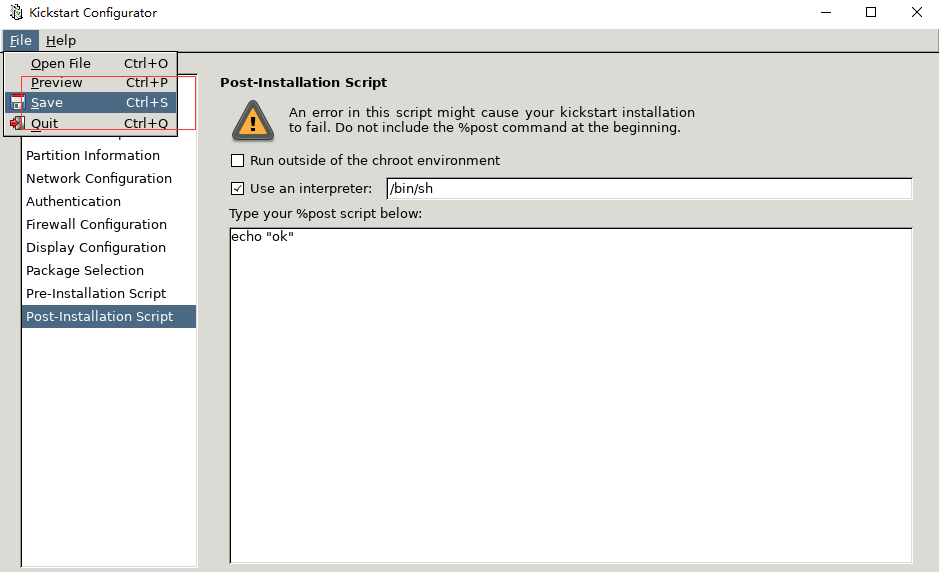
system-config-kickstart工具制作kickstart应答文件
测试也可以使用已经安装的系统的/root/anaconda-ks.cfg文件,修改以下内容
# Firewall configuration
firewall --disabled
# Network information
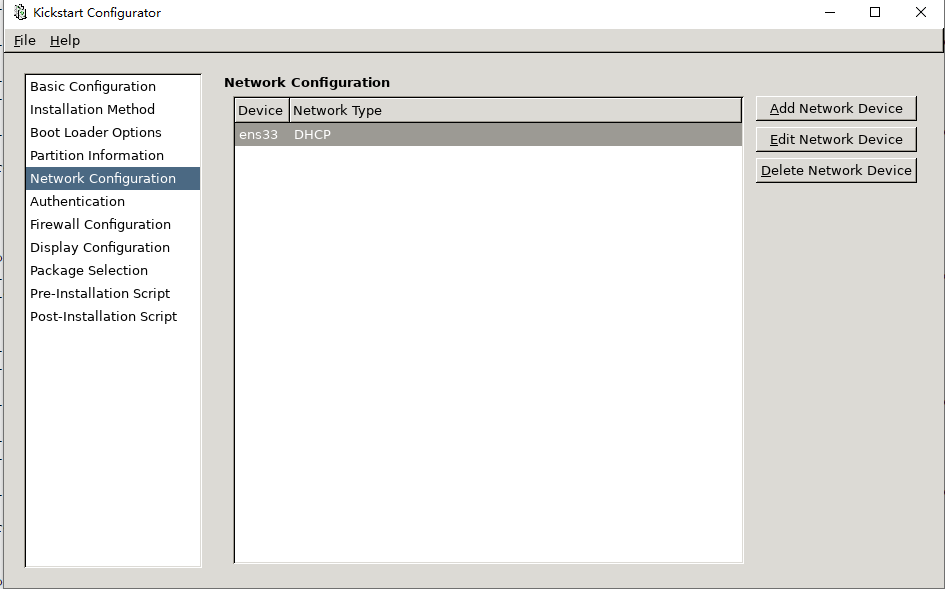
network --bootproto=dhcp --device=ens33
# Halt after installation
reboot
# System timezone
timezone Asia/Shanghai
# Use network installation
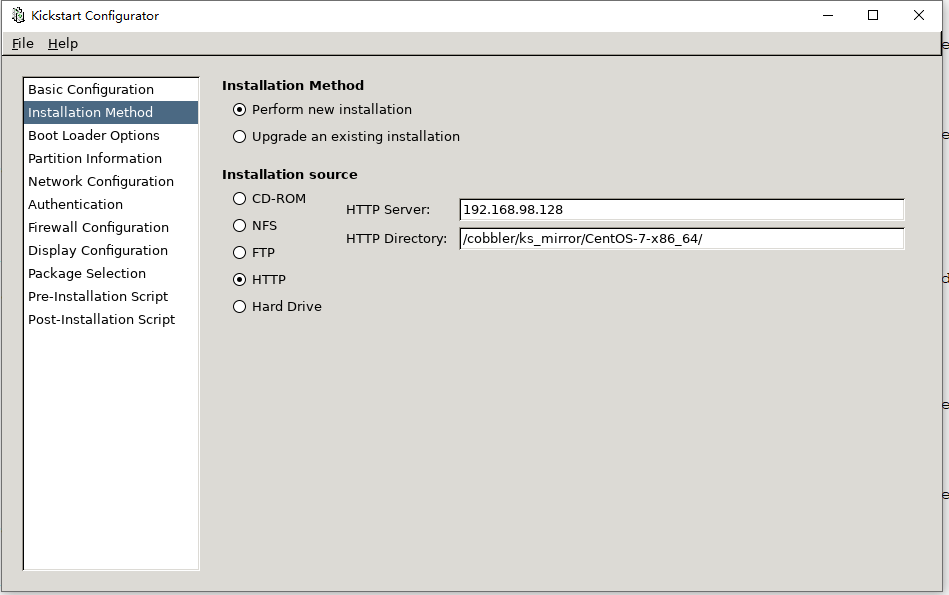
url --url="http://192.168.98.128/cobbler/ks_mirror/CentOS-7-x86_64/"
安装
[root@localhost ~]# yum -y install system-config-kickstart
[root@localhost ~]# yum  groupinstall x11
#推出终端重新登陆,执行system-config-kickstart,会在本地弹出图形界面
[root@localhost ~]# system-config-kickstart
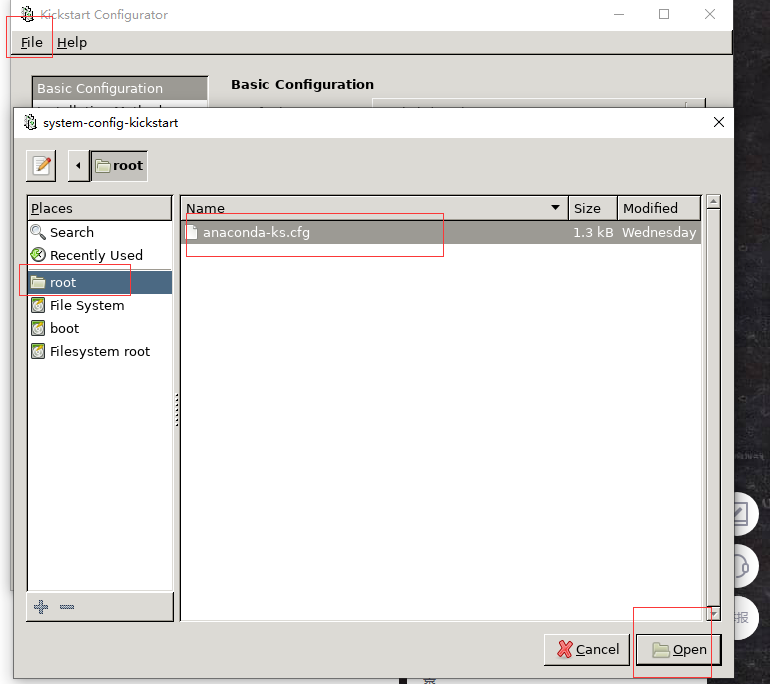
选择左上角File-->Open File
- 基本配置,语言、时区、键盘、密码


- 设置CentOS-7-x86_64的ks文件,根据你的文件名设置--kickstart参数
#如果你用/root/anaconda-ks.cfg修改,cp /root/anaconda-ks.cfg /var/lib/cobbler/kickstarts/
cobbler profile edit --name=CentOS-7-x86_64 --kickstart=/var/lib/cobbler/kickstarts/anaconda-ks.cfg
#如果你用system-config-kickstart,将system-config-kickstart生成的ks.cfg cp到/var/lib/cobbler/kickstarts/
cobbler profile edit --name=CentOS-7-x86_64 --kickstart=/var/lib/cobbler/kickstarts/ks.cfg
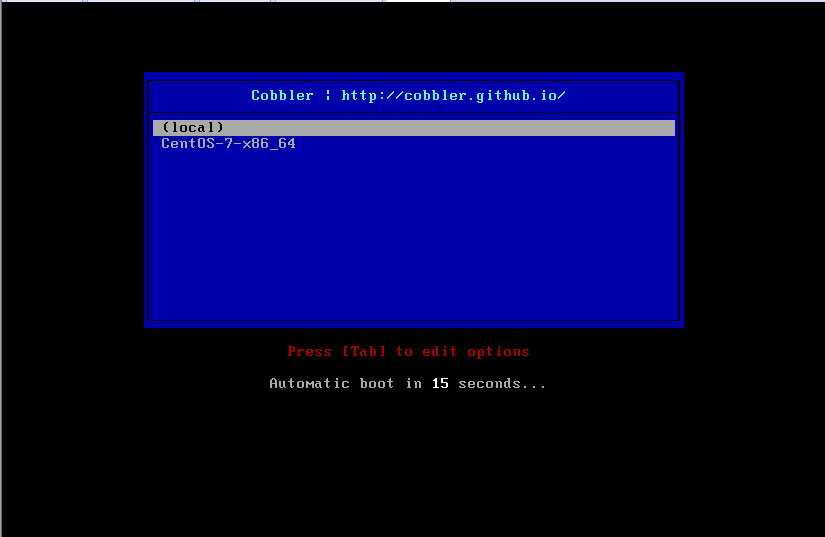
客户机自动安装,选择Centos-7
故障处理:/sbin/dmsquash-live-root:line286:printf:write error:no space left on device,将要安装的虚拟机内存调整为2G以上 本人在虚拟机操作时出现几次 Vmware提示以独占方式锁定此配置文件失败。另一个正在运行的VMware进程可能正在使用配置文件以及虚拟机黑屏. 在windows搜索cmd命令,然后以管理员方式打开,输入netsh winsock reset重启电脑
cobbler web ui
[root@localhost ~]# yum -y install cobbler-web
[root@localhost ~]# systemctl restart httpd
访问地址:https://
修改web密码
[root@localhost ~]# htdigest /etc/cobbler/users.digest "Cobbler" cobbler
Changing password for user cobbler in realm Cobbler
New password:
Re-type new password:
[root@localhost ~]# cobbler sync
[root@localhost ~]# systemctl restart httpd
[root@localhost ~]# systemctl restart cobblerd
定制化安装
根据mac地址安装系统(查看虚拟机或者物理机MAC地址省略,如果是测试,已经安装系统了,将机器bios改为网卡启动)
[root@localhost ~]# cobbler system add --name=192.168.98.99 --mac=00:0C:29:20:B2:13 --profile=CentOS-7-x86_64 --ip-address=192.168.98.99 --subnet=255.255.255.0 --gateway=192.168.98.2 --interface=ens33 --static=1  --name-servers="114.114.114.114 8.8.8.8"
[root@localhost ~]# cobbler system add --name=192.168.98.90 --mac=00:50:56:3F:AF:95 --profile=CentOS-7-x86_64 --ip-address=192.168.98.90 --subnet=255.255.255.0 --gateway=192.168.98.2 --interface=ens33 --static=1  --name-servers="114.114.114.114 8.8.8.8"
[root@localhost ~]# cobbler system list
   192.168.98.90
   192.168.98.99
[root@localhost ~]# cobbler sync
#执行cobbler sync后,安装对应mac机器,机器的网卡会分配到特定ip
二次重装系统
出于某些原因,对已经存在操作系统的机器再次进行网络安装。
通过koan实现, 在要重装的机器上执行
[root@localhost ~]# yum -y install epel-release
[root@localhost ~]# yum install -y koan
[root@localhost ~]# koan --display --server=192.168.98.128 --profile=CentOS-7-x86_64
[root@localhost ~]# koan --replace-self  --server=192.168.98.128 --profile=CentOS-7-x86_64
#reboot后开始重装本机
[root@localhost ~]# reboot
通过设置cobbler system 实现,在cobbler服务器设置
#查看当前系统是否允许pxe重装,因为已经安装过一次所以网络引导已经false了
[root@localhost ~]# cobbler system dumpvars --name 192.168.98.99 | grep netboot
netboot_enabled : False
#启用这台机的网络引导
[root@localhost ~]# cobbler system  edit --name=192.168.98.99 --netboot-enabled=1
[root@localhost ~]# cobbler system dumpvars --name 192.168.98.99 | grep netboot
netboot_enabled : True
#重启这台机器,从网络引导一次
网卡名称修改为eth{0,1,2,3}
CentOS 7 网卡的编号规则,网卡的代号与网卡的来源有关 eno1:代表由主板bios内置的网卡 ens1:代表有主板bios内置的PCI-E网卡 ens33则属于第二种类型,即说明你的网卡是内置的PCI-E网卡 enp2s0: PCI-E独立网卡 eth0:如果以上都不使用,则回到默认的网卡名
通过配置使用eth命名规则
[root@localhost ~]# cobbler profile edit --name=CentOS-7-x86_64 --kopts='net.ifnames=0 biosdevname=0'
[root@localhost ~]# cobbler sync
bond 配置
前提:准备有2个网卡的机器/虚拟机,获得网卡的MAC地址 ks文件必须包含$SNIPPET('network_config') $SNIPPET('pre_install_network_config') $SNIPPET('post_install_network_config') 装机的网络配置才能成功,可以参照前面的demo
[root@localhost ~]# cobbler system remove --name=192.168.98.99
[root@localhost ~]# cobbler system remove --name=192.168.98.90

[root@localhost ~]# cobbler system add --name=192.168.98.66 --interface=bond0 --interface-type=bond  --bonding-opts="mode=active-backup miimon=100" --profile=CentOS-7-x86_64  --name-servers="114.114.114.114 8.8.8.8" --ip-address=192.168.98.66 --netmask=255.255.255.0 --gateway=192.168.98.2 --static=1
[root@localhost ~]# cobbler system edit --name=192.168.98.66 --interface=eth1  --interface-type=bond_slave --mac=00:50:56:2F:82:8F --interface-master=bond0
[root@localhost ~]# cobbler system edit --name=192.168.98.66 --interface=eth0  --interface-type=bond_slave --mac=00:0C:29:20:B2:13 --interface-master=bond0
[root@localhost ~]# cobbler sync

#删除网卡配置使用
##cobbler system edit --name=foo --interface=eth2 --delete-interface
装机后如下:

总结
相关的配置内容很多,很多参数需要仔细研究其作用,生产环境的ks文件配置,需要进一步优化,例如装机后,系统的yum配置,用户配置,系统初始化,raid,网络,系统参数优化,软件包的安装,dns,服务的安装都可以进一步细化。